
How to Roll a Joint: Step-by-Step Guide for Beginners
· 4 min read
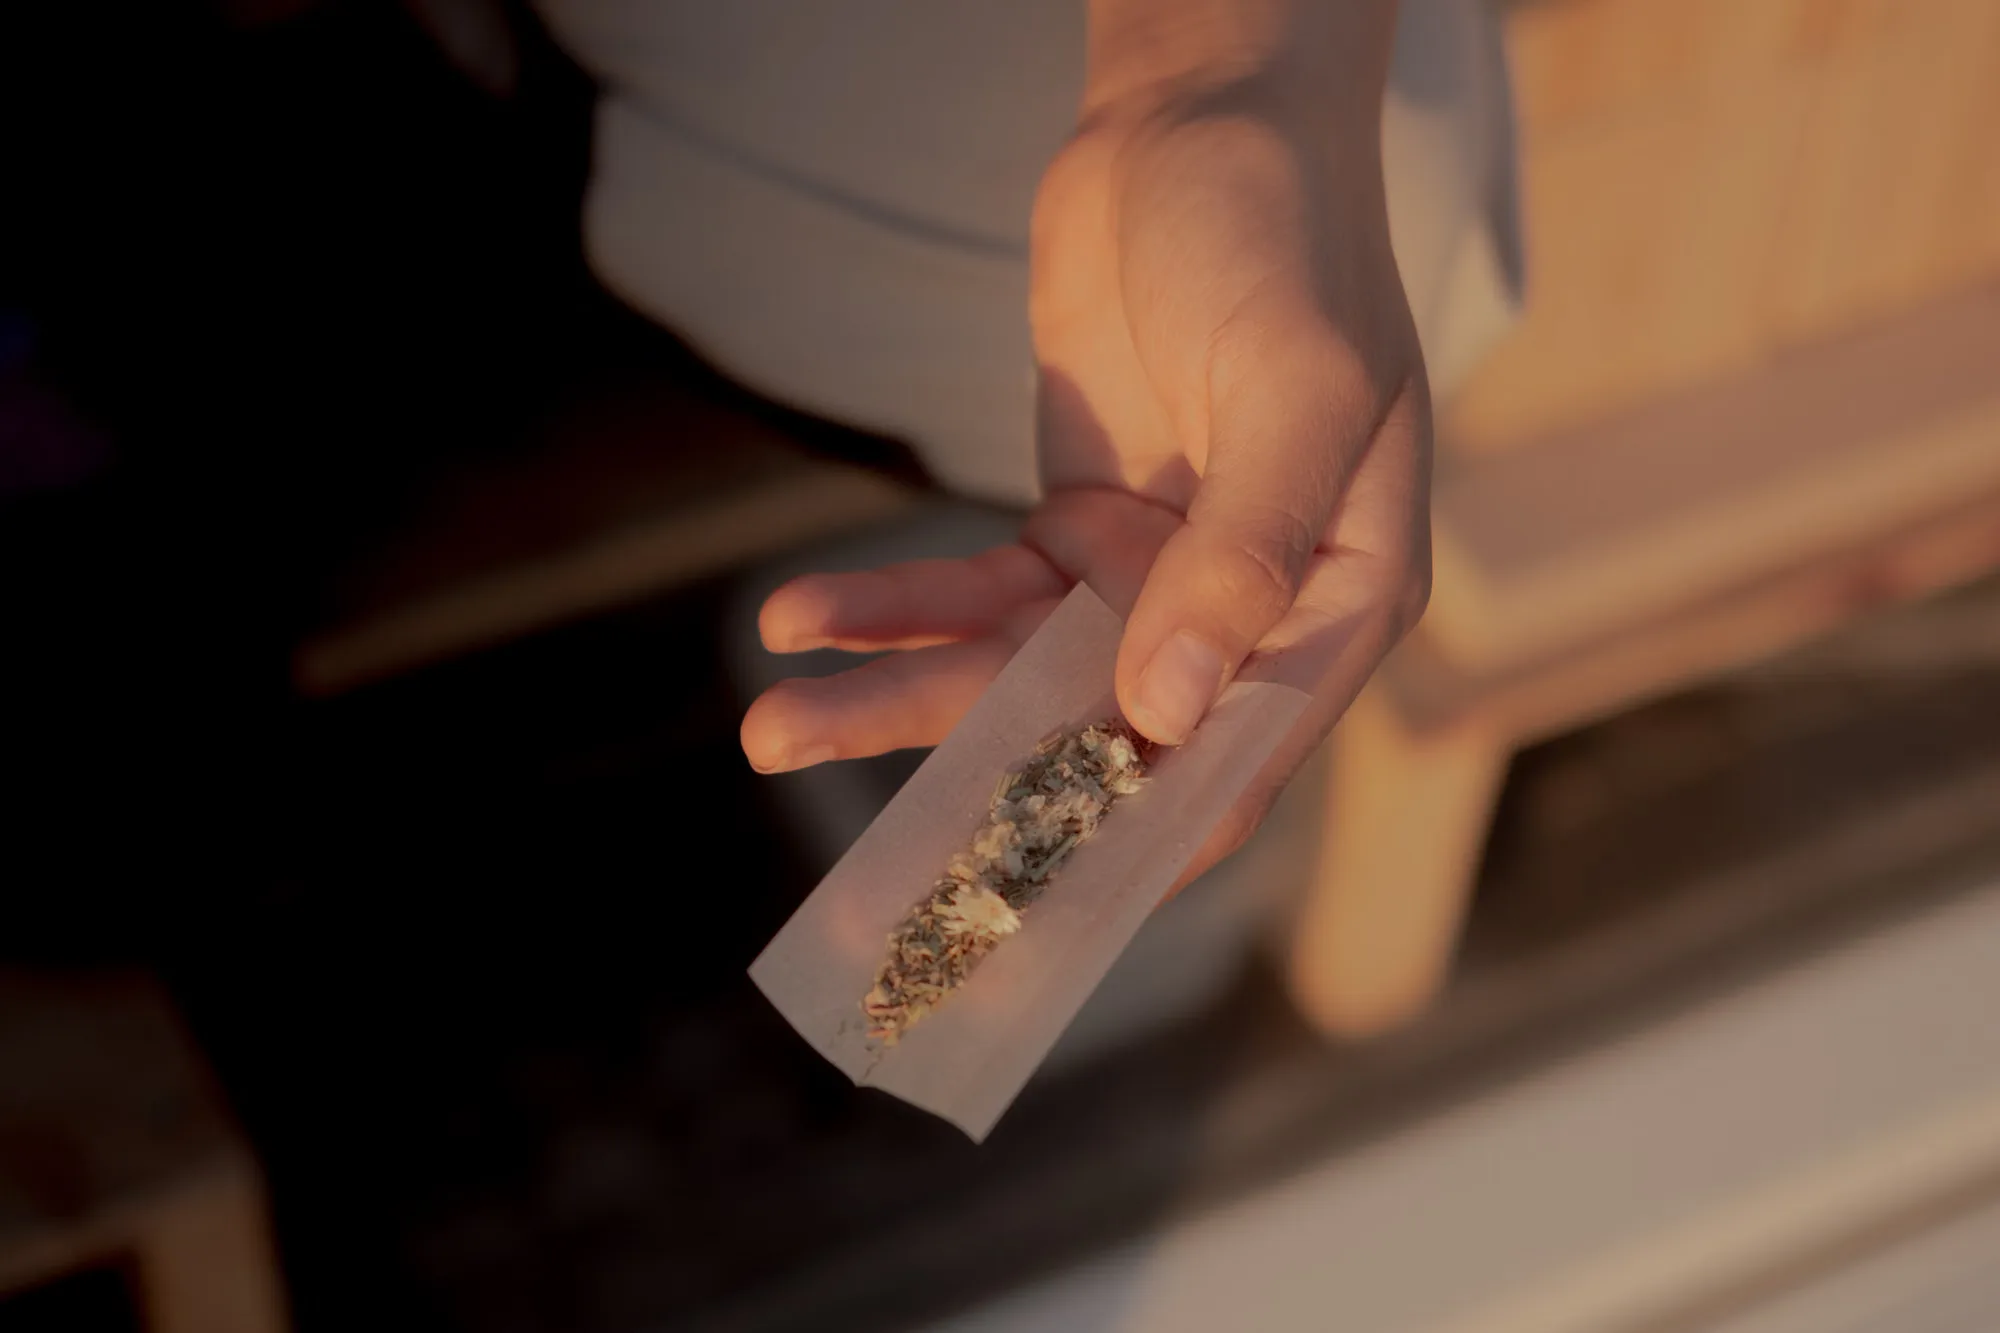
Rolling a joint by hand looks hard the first few times, but it's a handful of simple moves: grind, make a tip, load, shape, tuck, roll and seal. Here's the whole process step by step, plus fixes for the most common beginner problems.
What you need
- Rolling papers. A 1¼ paper is the easiest size to learn on. See our rolling paper sizes guide if you're not sure which to pick.
- A filter tip (crutch). A pack of unbleached filter tips or a strip of thin card.
- A grinder. Hand-broken material makes lumpy, uneven joints.
- A flat surface, ideally a rolling tray, so nothing ends up on the floor.
- Something thin to pack the end: a pen, a poker or a chopstick.
Step 1: Grind evenly
Grind your herb to a medium, fluffy consistency and pick out any stems; they poke holes in the paper. Too coarse and the joint burns unevenly, too fine and it packs into a hard, tight draw. If you need a grinder, our grinder buying guide covers sizes and materials.
Step 2: Make the tip
Fold one end of the filter strip back and forth three or four times like an accordion (an "M" or "W" shape), then wrap the rest of the strip around the folds. Aim for roughly the diameter you want the joint to be. A tip stops bits from reaching your mouth, gives the joint a firm end to hold, and keeps your fingers away from the cherry.
Step 3: Load the paper
Hold the paper with the glue strip at the top, facing you, and put the tip at one end. Spread the ground material evenly along the fold. For a 1¼ paper, about half a gram to a gram is plenty for a first joint. For a cone shape, put a little more at the far end than at the tip end.
Step 4: Shape it
Pinch the paper between your thumbs and index fingers and roll it gently back and forth. You're not sealing anything yet, just packing the material into an even cylinder (or a cone). Take your time; this step decides how well the joint burns.
Step 5: Tuck and roll
Start at the tip end, where the crutch gives you something firm to work against. Tuck the unglued edge of the paper over the material and under itself, then work along the length so the whole edge is tucked. Keep it snug but don't strangle it.
Step 6: Seal
Roll up the rest until only the glue strip shows. Lightly moisten the gum (a little goes a long way; a soaked paper tears and burns badly) and press it down along the seam, starting from the tip end.
Step 7: Pack and twist
Tap the joint tip-down on the tray, then use your pen or poker to gently pack the open end. Top it up if it looks loose, and twist the end closed if you aren't using it right away.
Common problems and fixes
- It runs or canoes (burns down one side): usually uneven packing or a dry, coarse grind. Pack evenly in step 4, and light the end evenly by rotating it.
- It's hard to pull on: packed too tightly or ground too fine. Use a slightly coarser grind and roll less tightly.
- It's loose and floppy: not enough material or not enough shaping. Add a pinch more and spend longer on step 4.
- The paper keeps unrolling: you missed the tuck. Make sure the unglued edge is fully tucked before rolling up to the glue.
- The paper tears: very thin papers (like ultra-thin rice) are less forgiving. Learn on a standard-weight paper first; our hemp vs rice vs wood pulp papers guide explains the differences.
Shortcuts if you'd rather not hand-roll
- Pre-rolled cones: fill and twist, no rolling. See how to fill a pre-rolled cone or grab RAW Classic 1¼ cones.
- A rolling machine: the 79 mm hand rolling machine fits 1¼ papers and makes even joints with very little practice.
- Reusable glass tips: glass rolling tips in place of a paper crutch.
Good papers to learn with include RAW Classic 1¼ and Zig-Zag Organic Hemp 1¼. Browse everything in the accessories shop. Not sure what to call what you just rolled? See joint vs blunt vs spliff.
FAQ
What's the easiest rolling paper for beginners?
A standard-weight 1¼ paper. It's short enough to handle easily, and thicker papers are more forgiving than ultra-thin ones. Move to king size or thinner papers once you're comfortable.
Do I need a filter tip?
No, but it helps a lot. A tip makes the joint easier to hold, keeps loose bits out of your mouth and gives you something firm to tuck against while rolling.
How much goes in a joint?
For a 1¼ paper, about half a gram to a gram. King size papers hold more. Start with less while you learn; overfilled papers are harder to tuck.
Why does my joint keep going out?
Usually it's packed too loosely, the grind is uneven or the material is damp. Pack more evenly, grind consistently and store your herb in an airtight jar.
Is a cone or a straight joint better?
Neither is better. A straight joint is easier to roll; a cone holds a bit more and some people find it smokes more evenly toward the end. Pre-rolled cones give you the cone shape with no rolling.
Adults 21+. Educational content, not legal or medical advice. Accessories are sold for legal use with tobacco or legal herbs. Local laws on accessories differ by country and state; check yours before ordering.
— The Shop Kushina Team
Ready to order?
Browse the full menu or THCA flower. Questions? Call or text (507) 323-2528.
More guides
Follow Shop Kushina on Google