
How to Use a Rolling Machine: Step-by-Step Guide (Plus Fixes)
· 5 min read
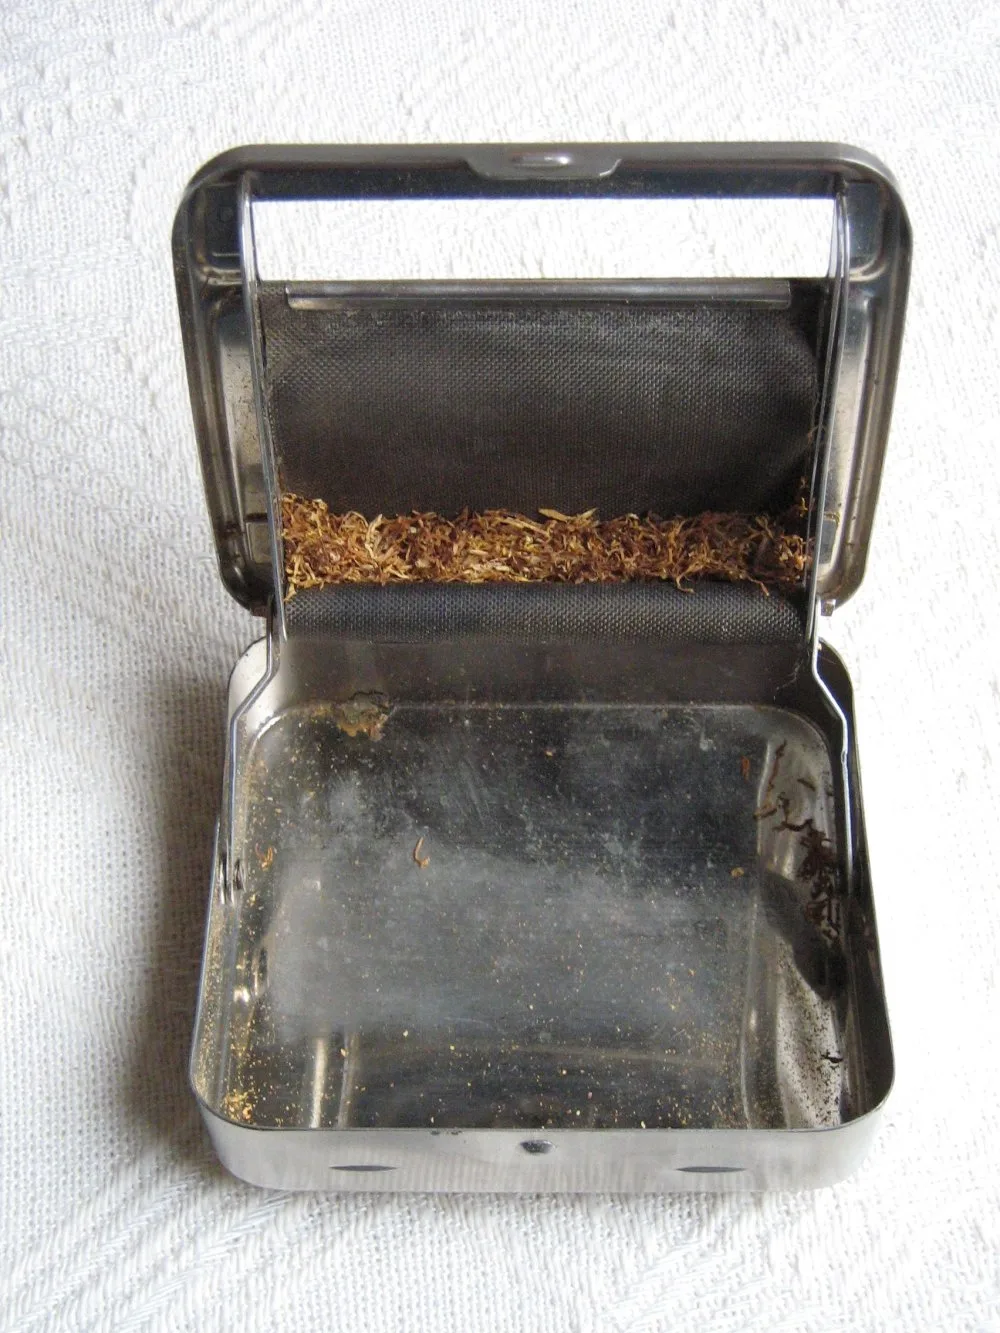
A hand rolling machine turns ground herb and a paper into an even, firmly packed joint in under a minute, with no tucking skills required. It's the easiest way to get consistent joints, and it's handy on days when your hands aren't steady. Here's how to use one step by step, how to fix the usual problems, and how to keep it working.
How a rolling machine works
A basic hand roller is two rollers (cylinders) joined by a flexible plastic or vinyl sheet called the apron. When the rollers are pulled apart, the apron sags into a trough between them. You fill that trough, close the rollers, and turning them shapes the material into a cylinder. Then you feed in a paper, and the apron wraps it around the cylinder for you.
Pick the right size
Machines are sized to match paper lengths:
- 79 mm machines fit 1¼ papers, the most common size. Example: our Hand Rolling Machine 79mm.
- 110 mm machines fit king size (and king size slim) papers. Example: the Hand Rolling Machine 110mm.
A paper that's much longer or shorter than the machine won't seal neatly. Our rolling paper sizes guide explains the sizes if you're unsure which papers you have.
What you need
- The rolling machine
- Papers that match it, such as RAW Classic 1¼ papers for a 79 mm roller or RAW Organic Hemp King Size Slim papers for a 110 mm roller
- A filter tip, rolled from a strip of card or from a pack like our unbleached filter tips
- Ground herb. Grind it medium-fine; big chunks leave gaps and stems can tear the paper.
- A rolling tray to catch spills (optional but useful)
How to use a rolling machine, step by step
1. Open the rollers
Pull the two rollers apart so the apron forms a trough between them.
2. Add a tip
Roll your filter tip and lay it at one end of the trough. If you're right-handed, the left end usually feels natural, but either works.
3. Fill evenly
Spread the ground material evenly along the trough. Fill it level with the top of the rollers for a standard joint; under-fill for a thinner one. Uneven filling is the main cause of lumpy joints, so take a few seconds here.
4. Close and pre-roll
Bring the rollers together, brush off anything sitting on top, and turn the rollers toward you a few full turns with your thumbs. This packs the material into a firm cylinder before the paper goes in.
5. Insert the paper
Take a paper and slide the plain edge (not the glue strip) into the gap between the rollers, with the glue strip at the top and facing you. Push it in just far enough that the apron grips it.
6. Roll it in
Keep turning the rollers toward you until only the glue strip is showing. If the paper won't feed, check that the machine isn't upside down and that the glue strip is facing you.
7. Moisten and seal
Lightly moisten the glue strip. A light touch is enough; a soaked strip can wrinkle or tear. Then turn the rollers a couple more times so the strip seals against the paper.
8. Release the joint
Open the rollers and the joint should drop out or slide free. Tap the open end lightly on the tray and pack it down a little with a pen or poker, then twist the end closed if you like.
Troubleshooting
| Problem | Likely cause | Fix |
|---|---|---|
| Joint is loose and soft | Not enough material, or too few pre-rolls | Fill to the top of the rollers and turn them a few more times before adding the paper |
| Paper won't feed in | Paper inserted glue-side first, or machine upside down | Insert the plain edge first, glue strip facing you at the top |
| Paper tears | Stems or chunks in the mix, or a damp paper | Grind finer, remove stems, keep papers dry |
| Lumpy joint | Material spread unevenly | Level the trough before closing the rollers |
| Joint doesn't seal | Too little moisture, or the strip touched the apron early | Moisten the full strip, then roll a couple more turns |
| Joint gets stuck | Overfilled | Use a little less material next time |
Hand roller vs rolling by hand
A machine gives you consistent, firm joints every time, which makes it great for beginners, for rolling several in a row, or if hand dexterity is a problem. Rolling by hand is more flexible: you can make cones, add a crutch of any size, and roll anywhere without extra gear. If you want to learn the hand method too, see how to roll a joint. If you'd rather skip rolling altogether, try filling a pre-rolled cone.
Care and replacing the apron
Rolling machines have very few parts, but the apron wears out over time. It can stretch, crease or split, and a damaged apron gives loose, uneven joints.
- Clean it: brush out loose material after each use. If it gets sticky, wipe the apron with a dry cloth or one barely dampened with a little alcohol, and let it dry completely before rolling again.
- Replace it: many hand rollers have a replaceable apron. In most designs you pop the rollers out of the frame (one side usually has notches to help), slide the old apron off, fit the new one in the same orientation, and snap the rollers back in. Check your machine's instructions, since adjustable models have an extra part.
Browse papers, tips, trays and rollers in accessories.
FAQ
How do you use a rolling machine for beginners?
Open the rollers, add a tip at one end, fill the trough evenly, close and turn the rollers a few times, insert the paper plain edge first with the glue facing you, roll until only the glue shows, moisten it and roll a little more to seal.
What size rolling machine do I need?
Match it to your papers: a 79 mm machine for 1¼ papers and a 110 mm machine for king size papers.
Which way does the paper go in a rolling machine?
Plain edge first, with the glue strip at the top and facing you. If it won't feed, flip the machine over and try again.
Why is my rolling machine joint loose?
There usually isn't enough material in the trough, or the rollers weren't turned enough before the paper went in. Fill to the top of the rollers and pre-roll a few more times.
Can you replace the apron on a rolling machine?
On many hand rollers, yes. Pop the rollers out of the frame, swap the old apron for a new one in the same position, and snap the rollers back in.
Adults 21+. Educational content, not legal or medical advice. Accessories are sold for legal use with tobacco or legal herbs. Local laws on accessories differ by country and state; check yours before ordering.
— The Shop Kushina Team
Ready to order?
Browse the full menu or THCA flower. Questions? Call or text (507) 323-2528.
More guides
Follow Shop Kushina on Google